Palantir Adapter
Overview
The Palantir adapter is designed to provide a template for getting started with Palantir Foundry integrations. It leverages the PALANTIR Library and Palantir Foundry Ontology API.
This component can be customized and adapted according to your workflow needs.
Requirements
-
The Palantir Adapter component.
-
Valid Base URL of your Foundry stack (e.g.
https://healthit.usw-23.palantirfoundry.com/)- Typical formatted as:
<your-subdomain>.<your-enrollment>.palantirfoundry.com/
- Typical formatted as:
-
Bearer Access Token with Ontology API permissions
- Created by going into Account → Settings → Tokens
-
Ontology API Name (
ontology-xxxx)- Created by going into Ontology Manager → Ontology Configuration → API Name
-
Demo Ontology App (required for default translator example)
-
Go to Palantir Foundry Marketplace and install: “Deep Dive: Creating Your First Ontology”
-
This app creates the Example Route Alert and related object types used in the demo searches and status update workflow below.
-
Note that you may need to configure the network ingress to enable international access if accessing the API from servers in different countries.
-
-
See Palantir Learning Course for more details: Learning Center: Creating Your First Ontology.
Running the Component
STEP 1: Import the Palantir Adapter component
Using +COMPONENT, import the Palantir Adapter component.
STEP 2: Set up the component configurations
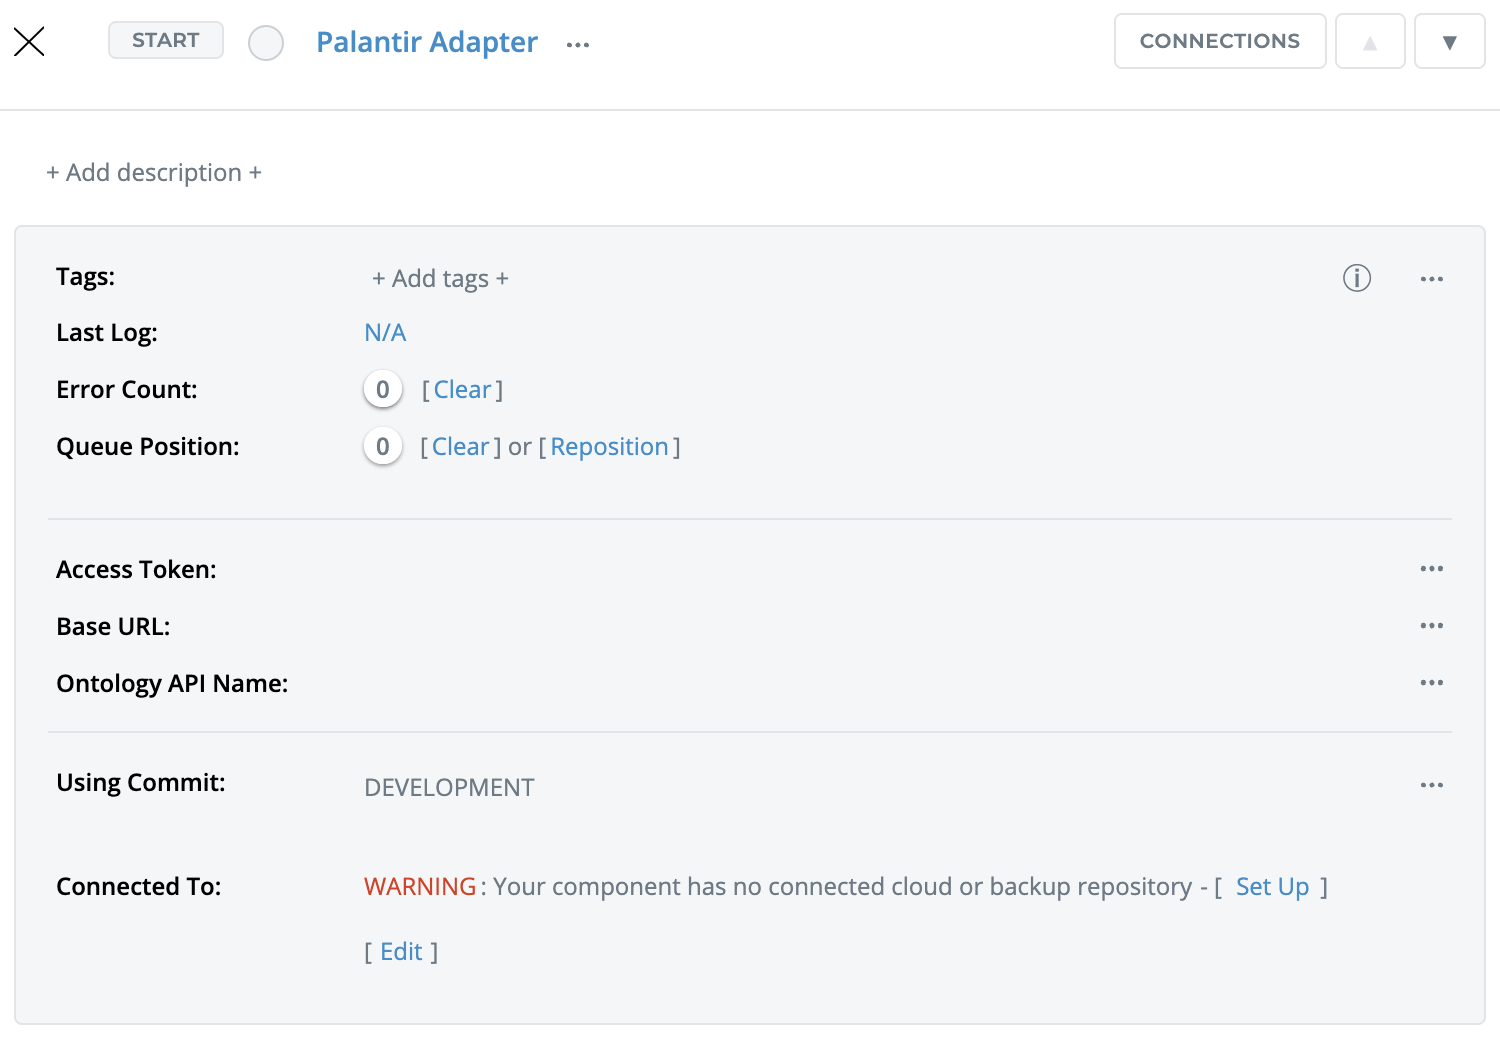
Component Configurations:
Field | Description | Default Value |
|---|---|---|
Base URL | Base URL of your Foundry stack. | |
Access Token | Bearer Access Token with Ontology API permissions. | |
Ontology API Name | Specifies which ontology to interact with. |
STEP 3: Start the component and view the processed files' contents in the logs
Once the component has been started, it will change the status of the Route Alert to “resolved” - you can observe this change in the Ontology Manager.

Adapting the Component
There are two main steps to help you adapt the component:
One: Create a Palantir object using the PALANTIRclient constructor
Using the PLANTIRclient constructor function to create client to use.

Two: Utilize the object functions to interact with the ontology layer
Utilize high-level methods to interact with the Ontology layer of the foundry pal:search, pal:get, pal:create, pal:apply, pal:custom
What the Palantir Adapter Includes By Default
Route Alert Example
A sample script that interacts with a sample training course object (i.e., the Route Alert). Iguana simply looks for a Route Alert and changes the status to “resolved”. You can observe this change in the Ontology Manager.
Ontology metadata (pre-loaded via PALANTIRbuilder.lua module):
-
objectTypes(list of object types) -
actionsMap(map of actions per object type) -
actionsByApi(map of actions by action API name)
Adapter methods:
These methods directly interact with the Ontology layer of the foundry as mentioned above search, get, create, apply, custom (Lower-level HTTP funnel for Palantir adapter)
The adapter makes it easy to browse the different Ontology objects and execute API calls without the need for manual lookup. Give it a try inside the translator and see the calls being made in the translator in real time.