Creating a VDB
There are two ways to create a VDB:
-
Build the VDB database table schemas using the Iguana GUI editor
-
Have Iguana import your database table schemas directly from your database
You can follow along the steps below for each method:
Note: It is recommended that column names do not contain spaces (ex. First Name). If column names have spaces, db.merge will not be able to be used and instead will have to write and execute SQL statements from the Translator.
Building a VDB in Iguana:
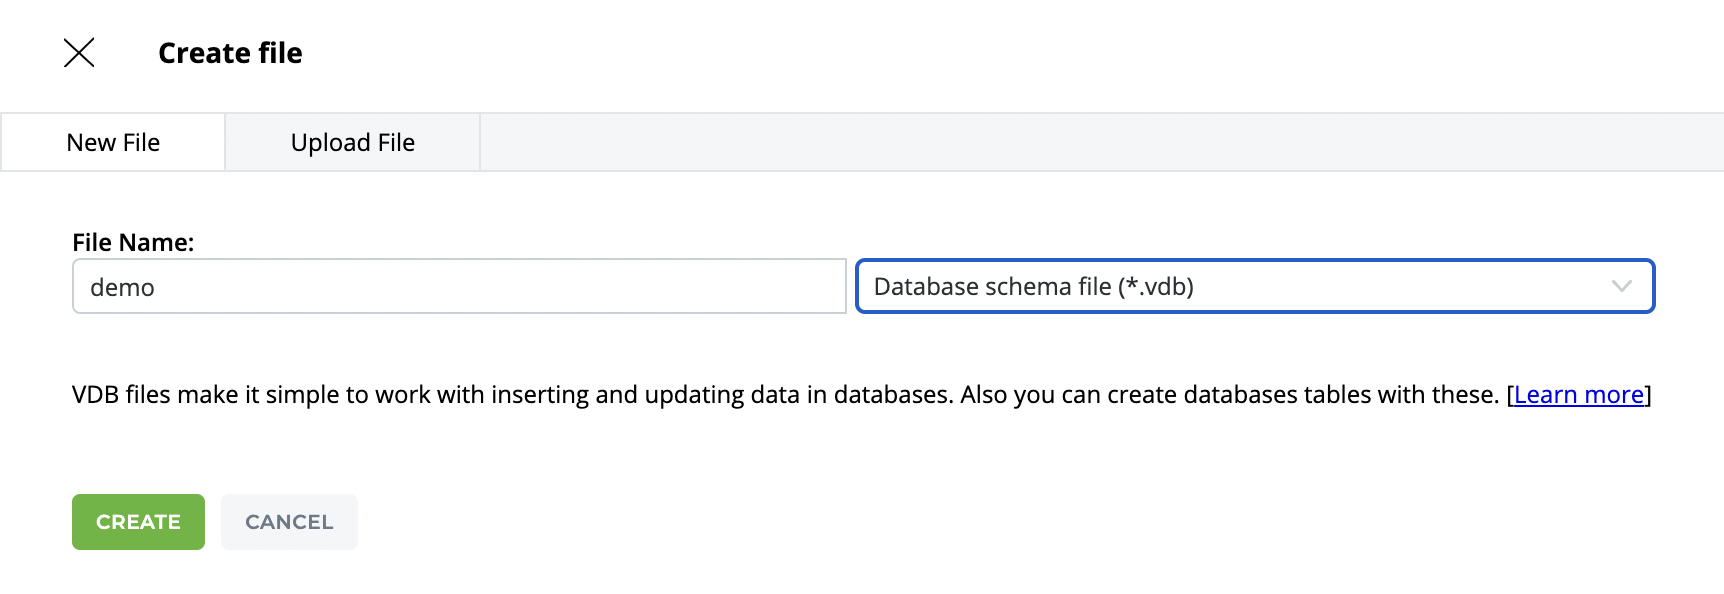
STEP 1: In a new component, click the Add File and create a new VDB
-
Click Add File in the Project pane (see Adding Files to a Project if this is your first time)
-
Enter a filename, choose the .vdb file type, and click create.
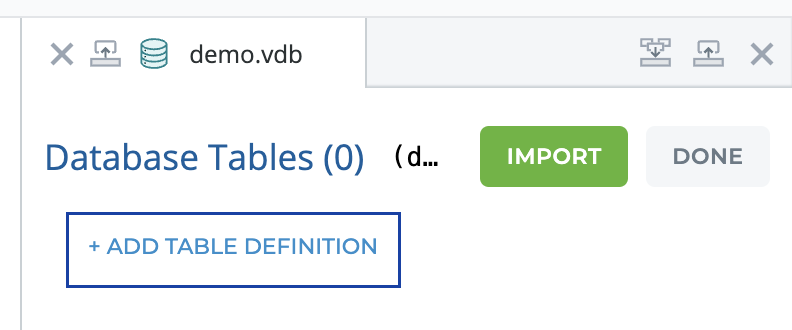
STEP 2: In the VDB viewer, edit and add a table definition
-
In the VDB viewer, click the ellipsis button to edit, and then + Add Table Definition.
-
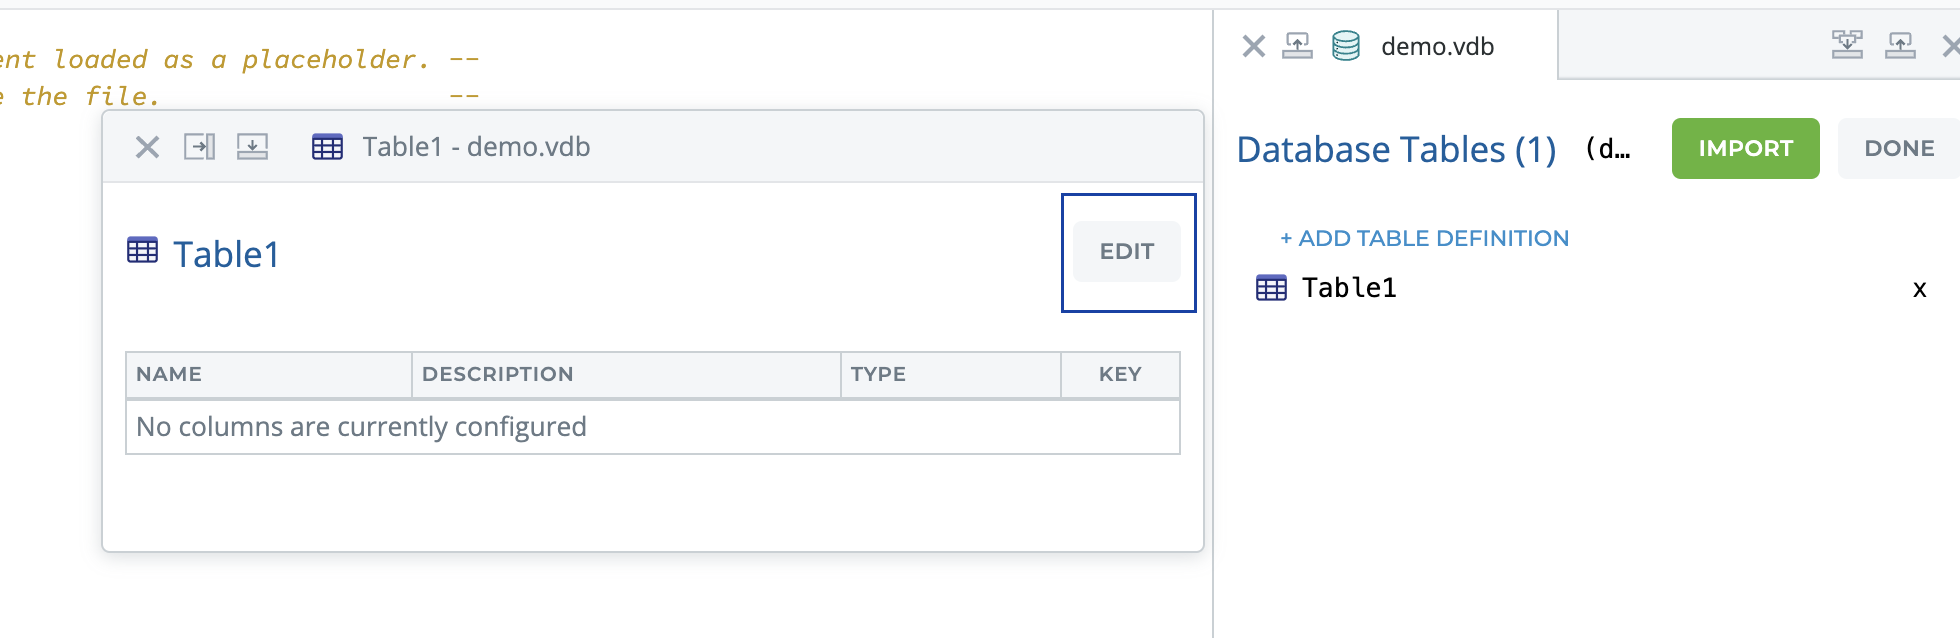
A table editor window will appear, click the ellipsis to edit the table definition.
-
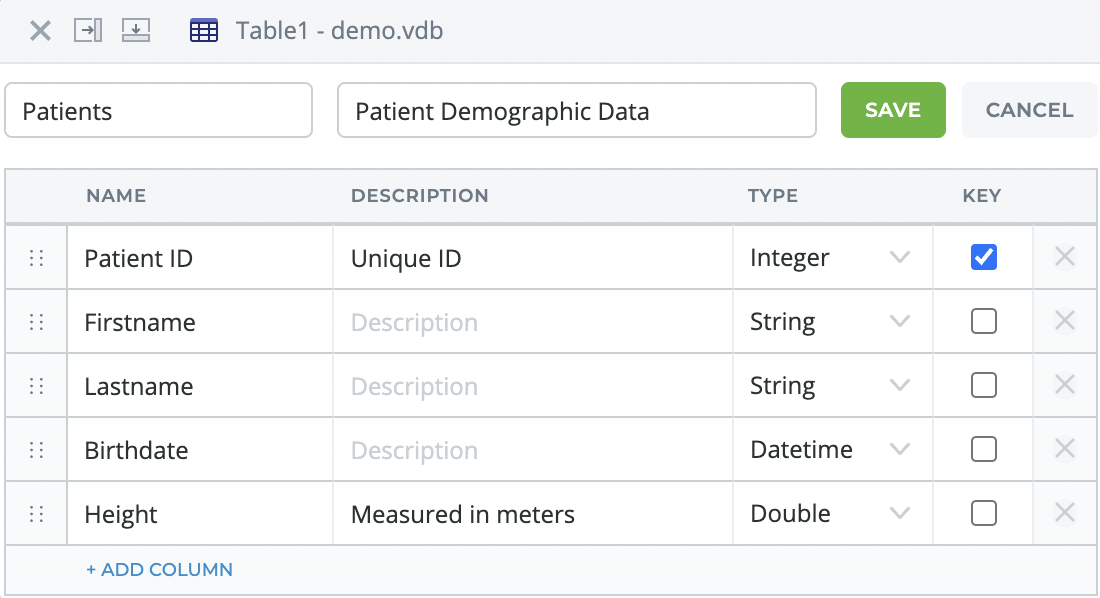
Build your table schema and click Save:
-
Enter a Table Name and Description.
-
Click Add Column and enter your the Name, Description, Data Type, and identify key fields.
-
You can also re-order your columns by dragging the column to the desired position.
-
STEP 3: Rinse-repeat, add additional table definitions as needed
You should see your new patient table in the VDB viewer. Add more table definitions as needed.
Import Database Table Schemas:
STEP 1: In a new component, click the Add File and create a new VDB
-
Click Add File in the Project pane (see Adding Files to a Project if this is your first time)
-
Enter a filename, choose the .vdb file type, and click create.
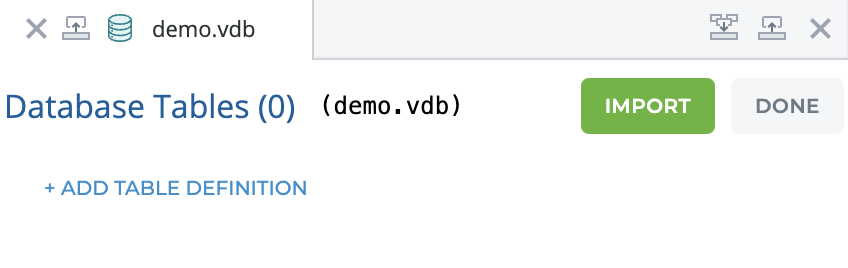
STEP 2: In the VDB viewer, click Edit and Import to perform a Database Query
-
In the VDB viewer, Edit then click Import.
-
Follow the three steps outlined by the VDB Importer. First, click the DB button to pull up the Database Query card.

-
Choose your Database and provide the connectivity information for IguanaX to query the table definitions:
-
Type: Select the database and API connection method you want to create tables in.
-
Data Source: If the database does not exist in the path provided, the export tool will create the database and associated tables.
-
For ODBC database connections, use the system data source name as specified in ODBC.
-
For Oracle OCI, use the OCI TNS Alias (database server name).
-
For MySQL use the database name.
-
For SQLite, browse to the path of the .sqlite target database file.
-
-
Database (for ODBC): The name of the target database.
-
Username and Password: If required, enter your database login credentials.
-
-
Click Confirm to view the tables from the database.

STEP 3: Choose which tables to import into your VDB file and click Import.
-
Click on each table you would like to import into your VDB file from the first Import From section. You should see all elected tables in the middle Import Content section .
-
When ready, click Import.

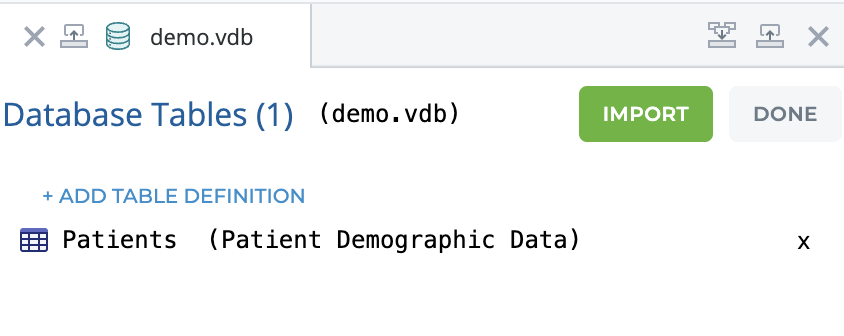
STEP 5: View your newly imported tables in the VDB viewer, and click DONE
Click each of your tables to view their schemas. You can now use the VDB editor as normal to make changes as needed.
Don't forget to click Done.
